Personal Project, mechanical and electrical design
Terrarium
The very first exposure I had to electrical and mechanical engineering would be in high school. Having my own experiences with grow chambers, I wanted to build something better at a smaller scale, to bring my plants to any location. I was curious about a form of solid-state cooling through peltier devices. Though extremely inefficient, they intrigued me due to their lack of moving parts. From a reliability standpoint, they seemed like a good option and they seemed very flexible, able to change temperature direction instantly when voltage polarity was changed.
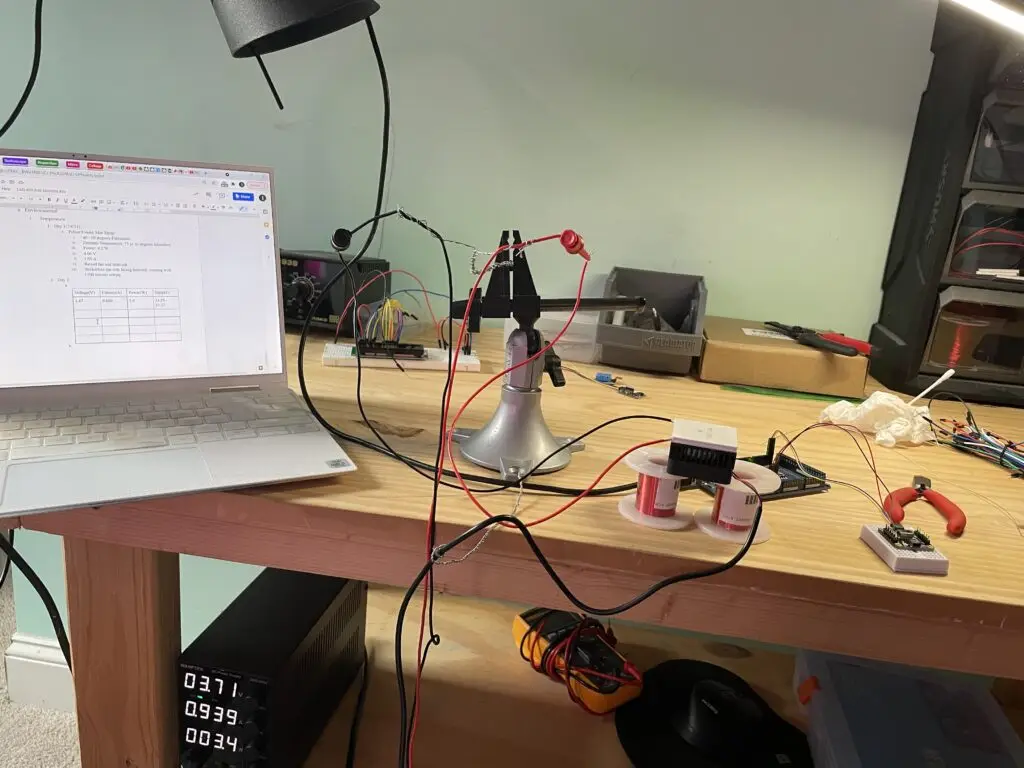
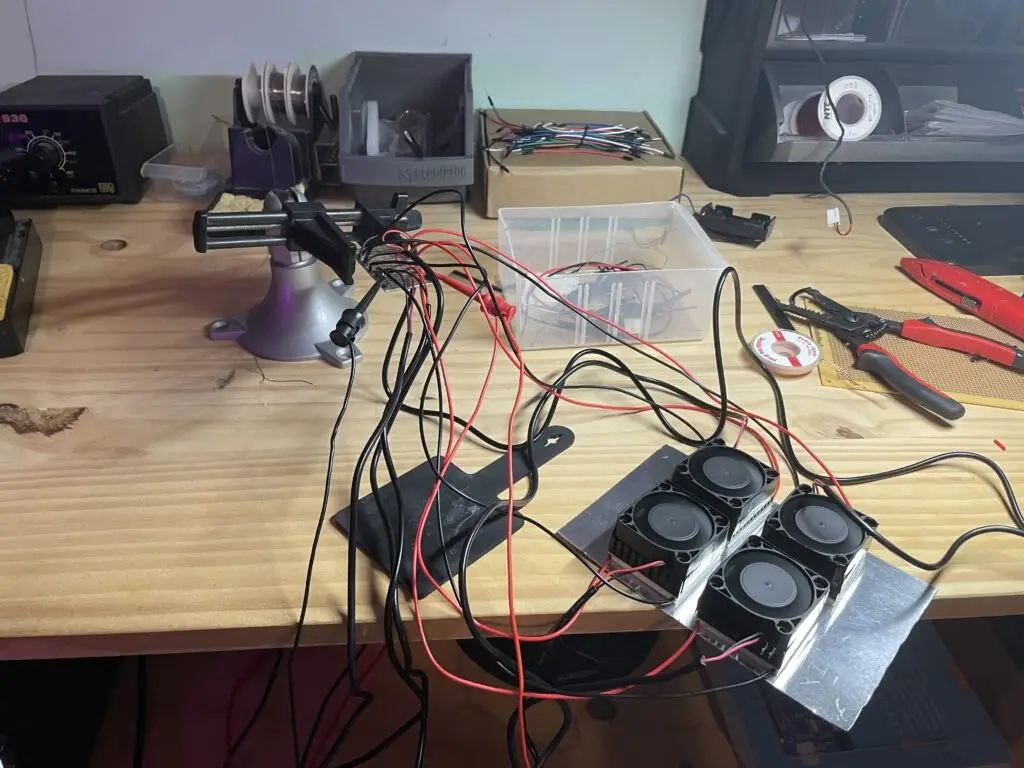
The core of the terrarium was focused around this new cooling and heating technology. At the time, my thought was that by heating and cooling a reservoir of water, I could then spray this water out. Because of the larger surface area of the vapor, the cooling rate would be faster. I first began unit testing the peltier devices and a set of ultrasonic humidifiers.
From what I could tell, the set up peltier devices I had used, with heatsinks and cooling fans attached, was able to quickly cool a sheet of aluminum. In fact, water would begin condensing on the sheet after a quick while. The humidifiers also worked impressively well once I bypassed the push-button on the PCB.

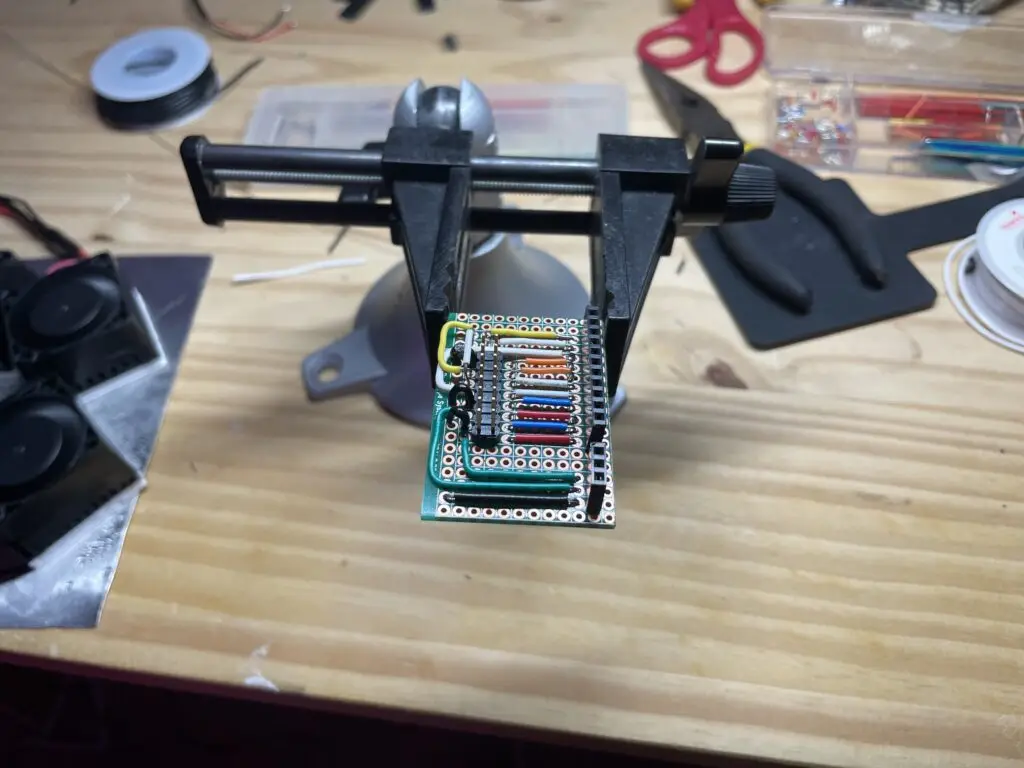
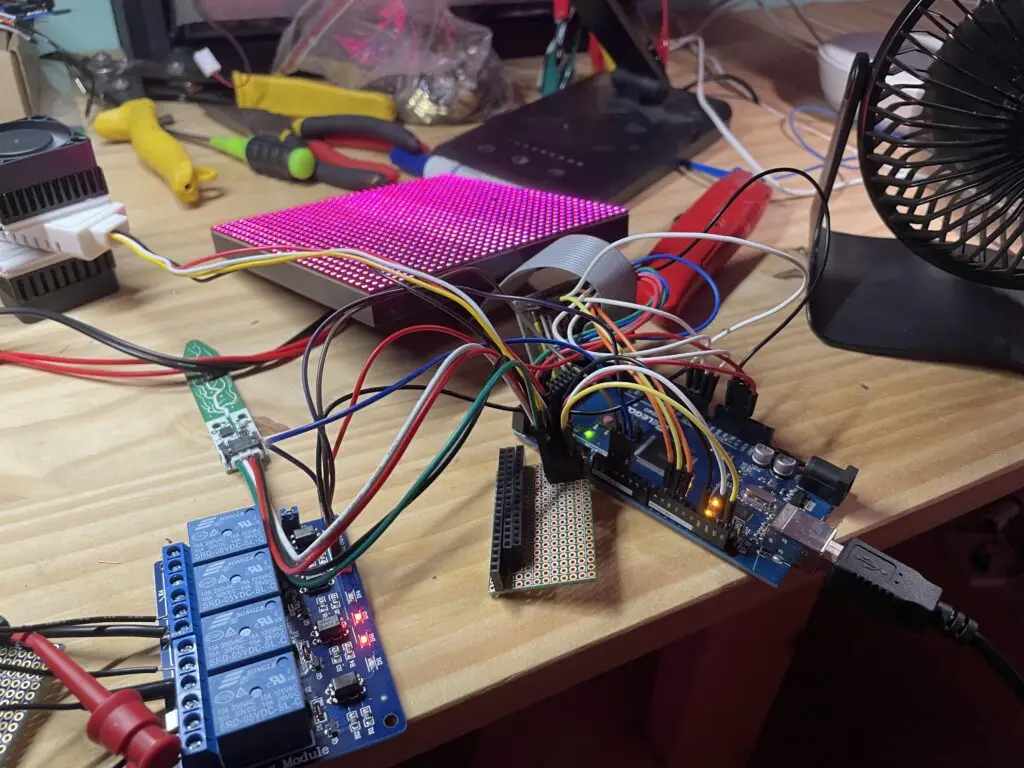
The next steps were to setup the lighting. I wanted some degree of flexibility when it came to lighting, so I found a programmable RGB LED panel on Adafruit. I made a little breakout board for it by following the online instructions and confirmed that it worked when hooked up to an Arduino and using some example code.
I also tested the soil moisture sensor and air temperature and humidity sensors.
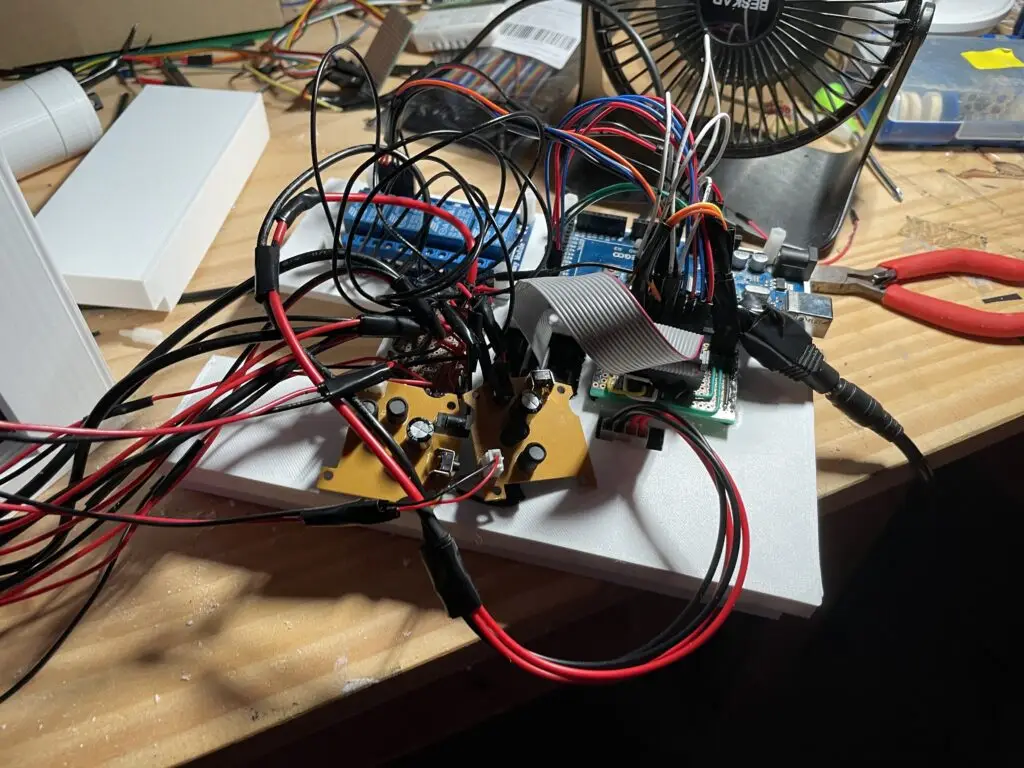
Next, I began working on integrating the peltier devices into a more cohesive block with the ultrasonic humidifiers. Dipping my toes for the first time into 3D design, I was able to design a print a little enclosure for my peltier devices and humidifiers, sealing the system with silicone caulk. I then began the messy process of integration, with a set of relays to control the peltier devices and everything then connected to the Arduino Mega I was using.
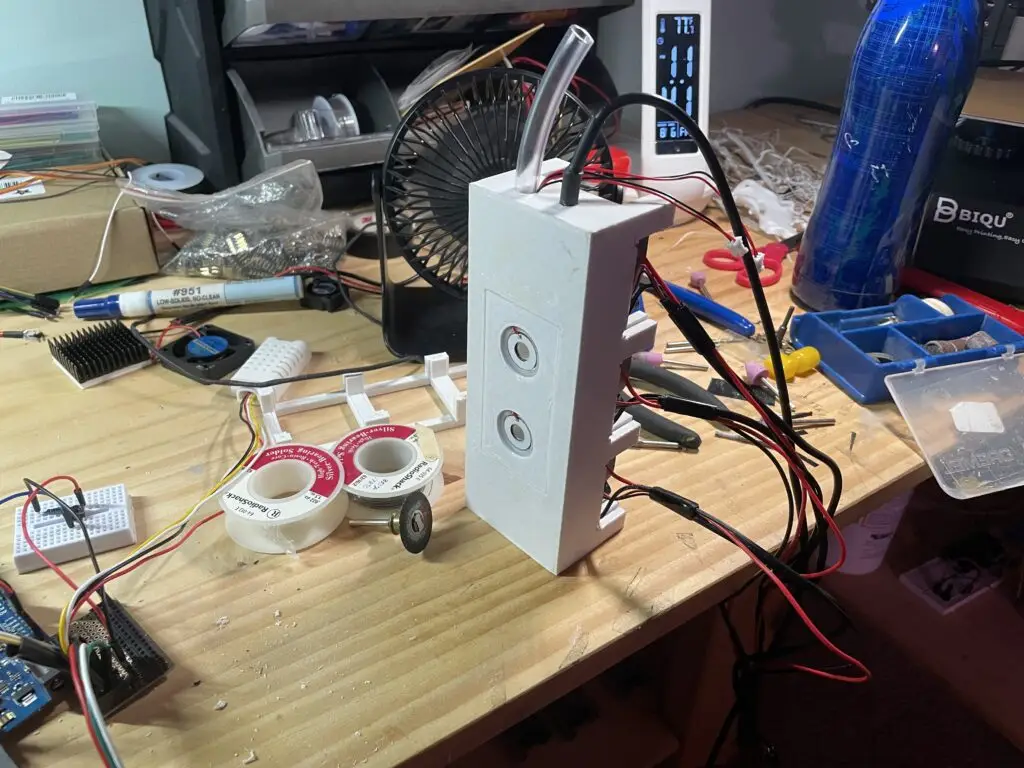
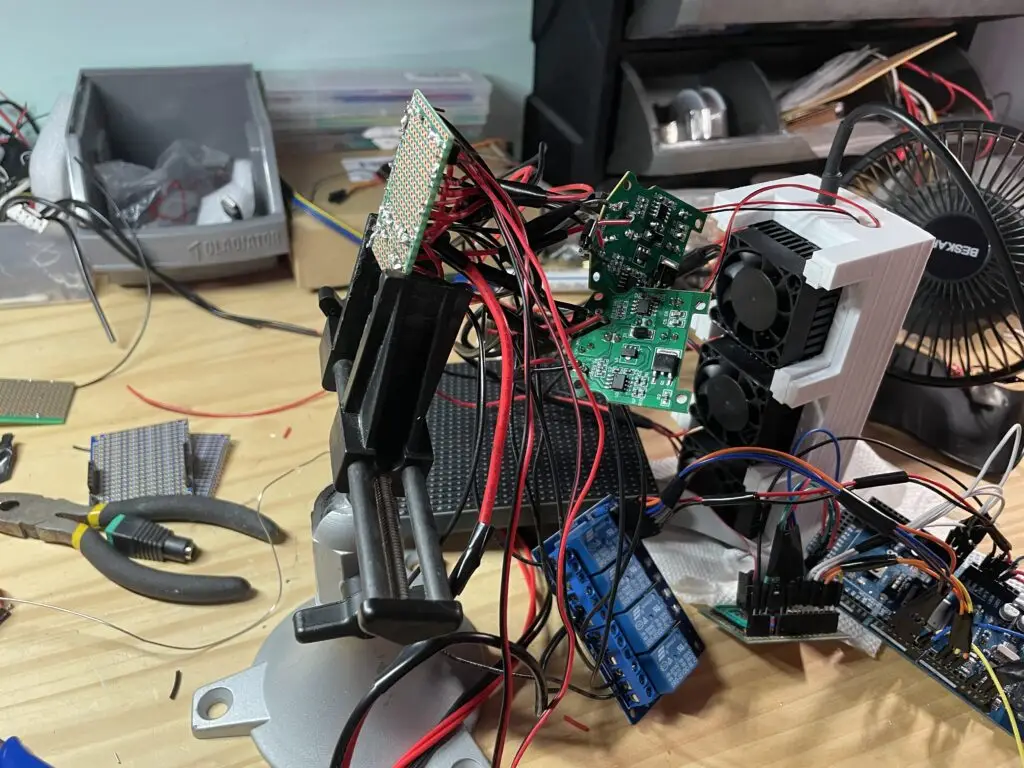
With that done, began the slow but exciting process of putting things together bit by bit. With the thermal module and humidifier block setup correctly, I integrated both systems into a single air conditioning block with some small PC fans as well. A temperature sensor went into the cooling reservoir to monitor the water temperature. With most of the parts all unit tested, the next step was designing a frame that could house every component I was planning on using.
I still had a lot of work to do. It had taken a lot of time to familiarize myself with 3D printing, figuring out different material requirements, settings, and overall setup before and after a print was very tedious but rewarding.
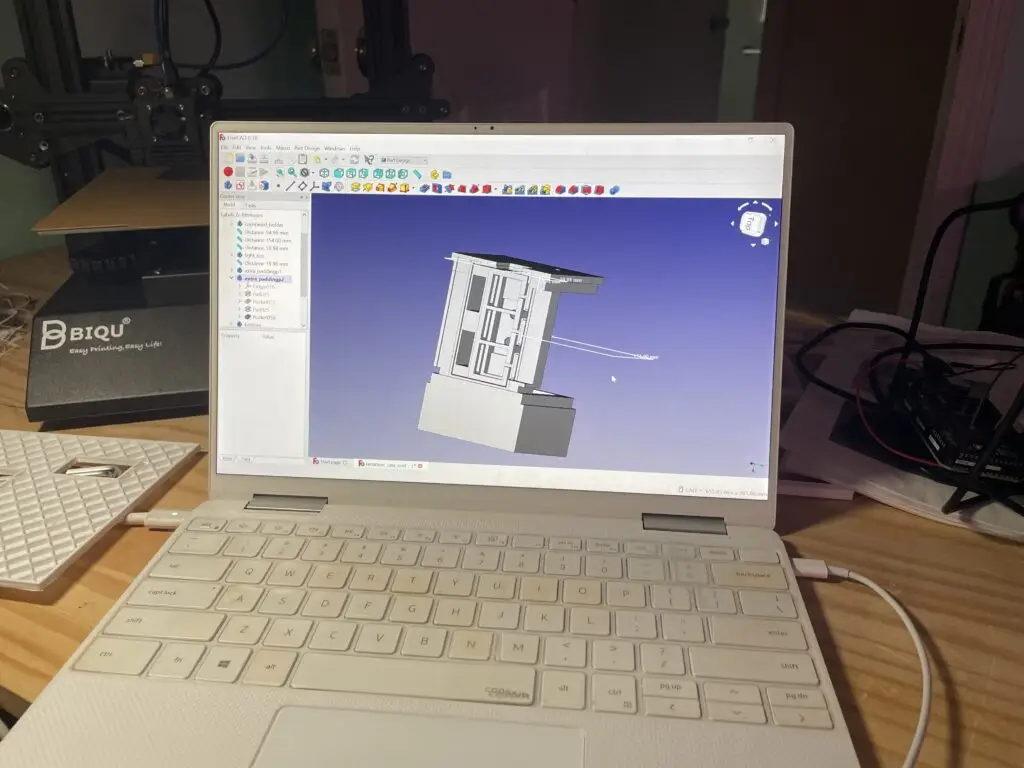
I used FreeCAD to design the entirety of my terrarium project. I began with the air conditioning unit, and then moved onto the top section, finishing up with the bottom base. The top section needed to have the right dimensions to hold the LED panel, as well as enough space to fit the Arduino Mega, relays, and all the other PCBs I had used to route my wires.
The bottom base portion needed to be able to store some runoff water, and also hold a pot that you could place and remove.
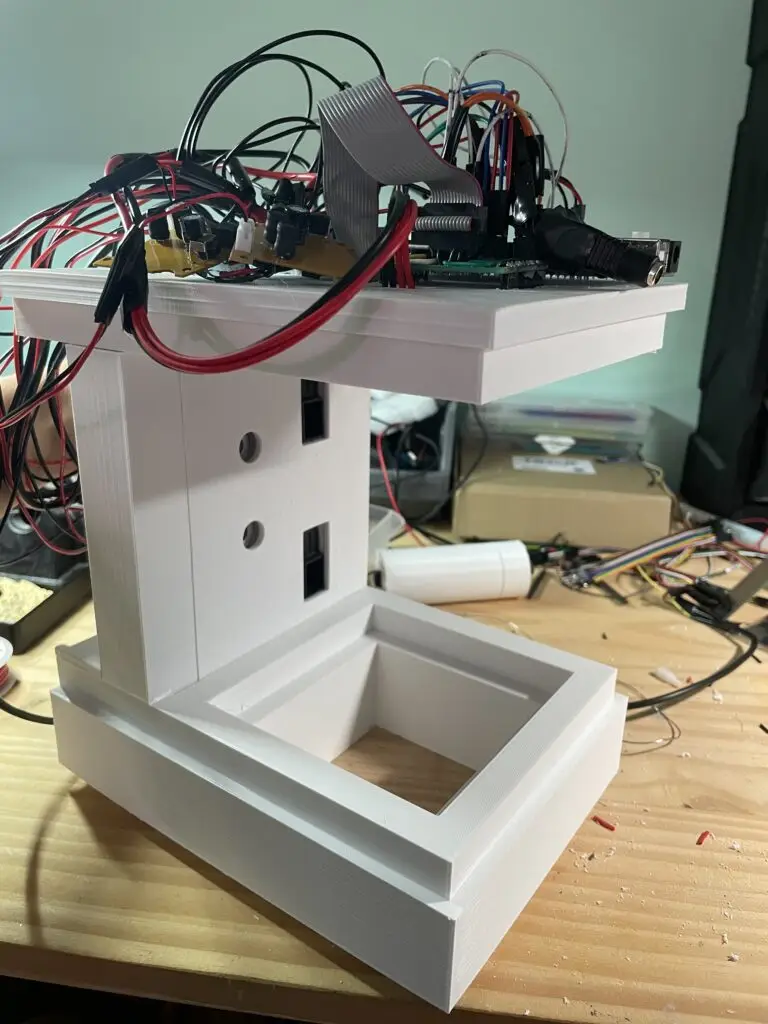
After the large piece for the lid of the terrarium was printed, I began assembling the majority of the frame. The important things here were to make sure there was enough space for the wires to travel everywhere and that nothing was accidentally shorted. Another issue I had was that the relays sometimes were loose, and the wires would not make good contact.
Once the top of the terrarium was mostly laid out, I felt confident enough about my dimensions. I began designing and printing the rest of the parts, including the base. After testing each part, I was happy to see that though some of the larger pieces had warped at the corners, the parts were still close enough in tolerance that pieces fit without too much issue.
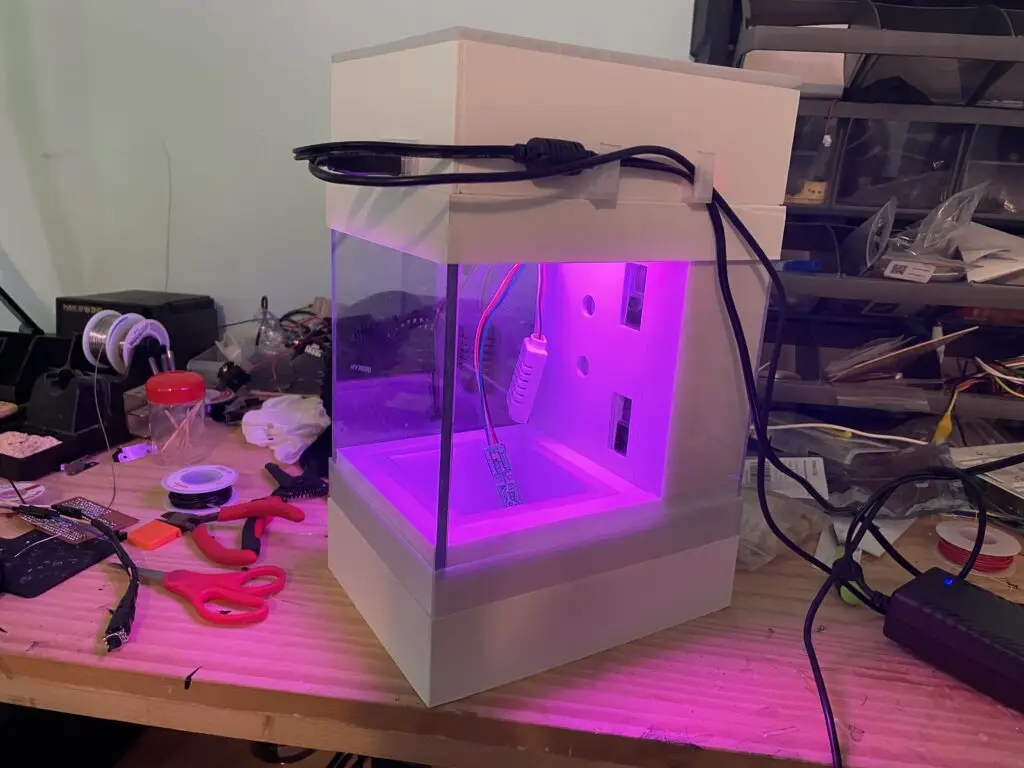
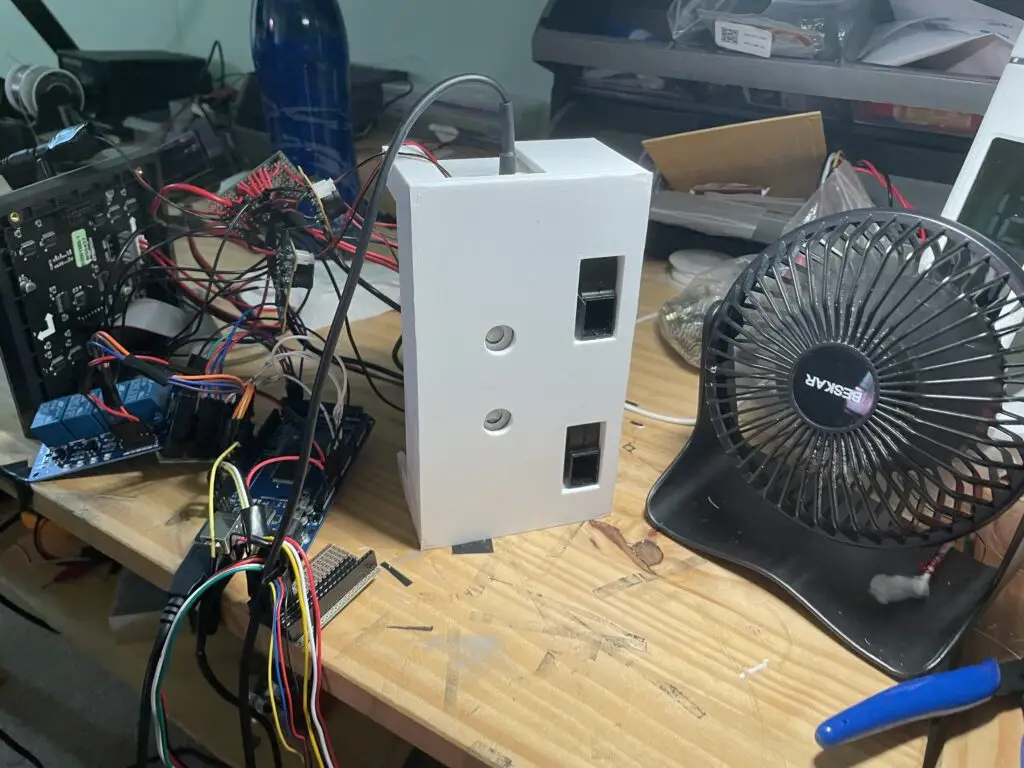
With the top of the terrarium mocked up, I began the next step which was consolidating all of the wires and necessary parts into one big piece. The terrarium needed to run on only 2 external inputs, that being the Arduino USB port and a power port that supplied the adequate amount of power for the lights, peltier devices, humidifiers, and everything else. I made sure that all the ports were aligned by the right amount, and then made a front plate that was tall enough to cover all of the wires. I also made a bottom tray to hold all of the water.

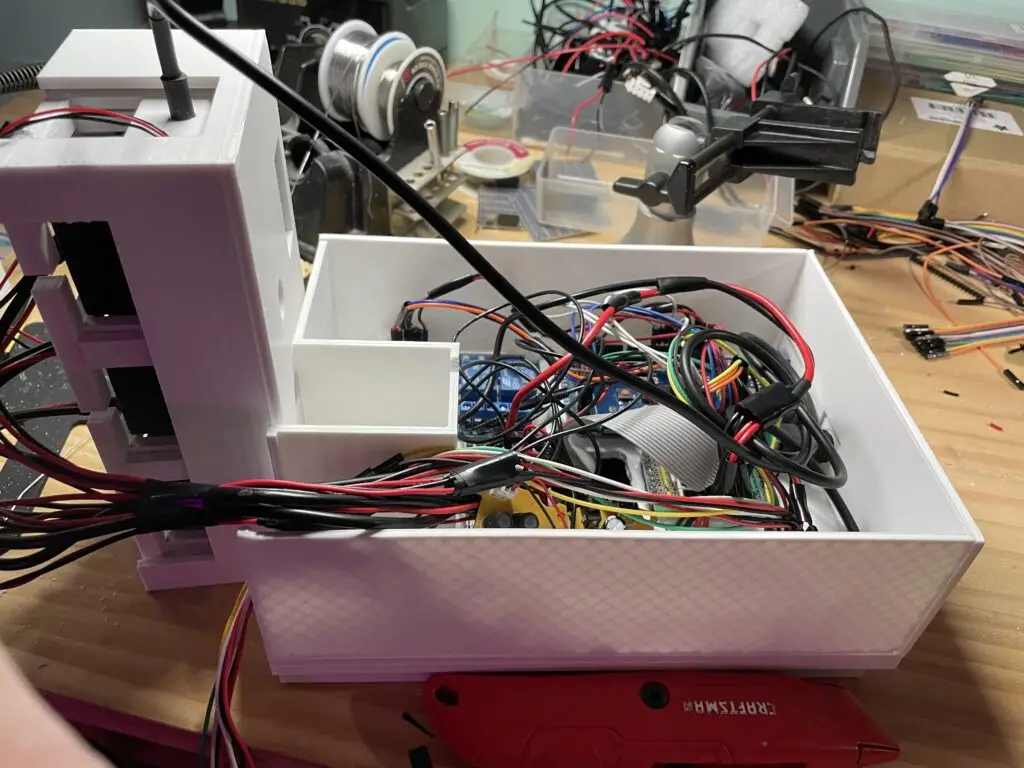

The rest of the top lid was finished to fit all of the required parts in an enclosure, and I also printed a small extra water tank to attach to the cooling reservoir. I cleaned up the wires as well and tidied up the overall setup.
With several plexiglass pieces cut to size, I put everything together. I was happy to see that the sensors, and humidity control were functioning properly, but the temperature control was barely able to cool down the temperature by a degree or so. Looking at it from more scientific perspective now, the amount of power (30 W) being run through the peltier devices and the overall inefficiency of the system mean that it was quite unreasonable to expect the cooling capacity needed to cool the chamber down by 20 degrees below ambient. My method of cooling also couples humidity and temperature, which isn’t the most intelligent choice either. I’ve learned a lot and am excited to try and make this better.